REVIEW · SEOUL
Your Personal Seoul Photographer!
Book on GetYourGuide →Operated by Your Seoul Photographer · Bookable on GetYourGuide
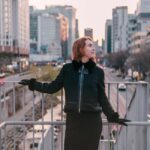
Good photos without the tripod struggle. This 90-minute Seoul photo experience with Gilson helps you get confident, flattering shots at Gyeongbokgung Palace and through the traditional streets around Bukchon Hanok Village. I like the focus on posing guidance, not just sightseeing, so you spend less time guessing and more time looking good in your photos. One thing to keep in mind: the palace and hanok area can get crowded, so you’ll need patience while he works the angles.
The format is simple and efficient: you meet at Anguk Station Exit 1, walk between stops, and leave with 30–40 edited photos delivered by email within 3 business days. You’ll also get a small-group feel (max 5 people) plus English, Portuguese, Spanish, or Korean guidance, which makes a real difference if you want clear direction fast.
In This Review
- Quick reasons to book
- Meet at Anguk Station: How the 90-Minute Photo Plan Flows
- Gyeongbokgung Palace Photo Stop: Finding Angles Even When It’s Crowded
- Bukchon Hanok Village and Samcheong-dong Alleys: How to Turn Tradition into Strong Frames
- Hanbok Optional, But You Must Bring It: What to Do Before You Go
- The Photos After the Walk: 30–40 Edited Images in Your Inbox
- Price and Value: Why $120 Can Be a Smart Solo Spend
- Best Fit: Who This Seoul Photo Session Works For
- Practical Tips Before You Go (So Your Photos Look Effortless)
- Should You Book This Seoul Photo Experience?
- FAQ
- What’s the duration of the Seoul photo experience?
- How much does it cost?
- Where do I meet the tour?
- What areas of Seoul will we photograph?
- Are photos included?
- When will I get the photos after the tour?
- Is Hanbok provided?
- What languages are available for the guide?
- How big is the group?
- Can I cancel?
Quick reasons to book
- Gilson’s posing coaching so your photos look natural, not random
- Gyeongbokgung Palace photo stop with expert spot selection and guidance
- Bukchon Hanok Village + side streets for character-filled frames
- Samcheong-dong area coverage for extra texture beyond the main sights
- 30–40 edited photos emailed within 3 business days for easy sharing
- Small group size (max 5) keeps the session from feeling rushed
Meet at Anguk Station: How the 90-Minute Photo Plan Flows
This is built for people who want photos of themselves, not just photos of landmarks. You start at Anguk Station Exit 1, then you’re on foot between key areas. The schedule is tight but not chaotic: about 10 minutes walking before the palace time, then a short walk to the hanok neighborhood, with another 10 minutes back to Anguk Station.
What makes the pacing work is that the walking is basically the transition. You’re not left alone with your phone while crowds swirl around you. Instead, you’re guided from one photo moment to the next, with enough time at each stop to try multiple compositions.
Also, the small group matters. With a maximum of 5 participants, you’re more likely to get direct attention—especially if you’re solo or you just don’t want to keep asking strangers to take your picture. The languages listed (English, Portuguese, Spanish, Korean) also help you communicate quickly when you want a specific mood or style.
If you’re the type who gets frustrated by slow lines and camera confusion, this format reduces decision-fatigue. You’ll get direction, then you’ll act. Less waiting. More shooting.
You can also read our reviews of more photography tours in Seoul

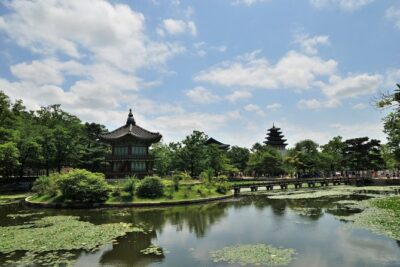
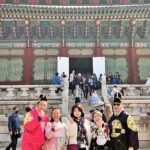
Gyeongbokgung Palace Photo Stop: Finding Angles Even When It’s Crowded
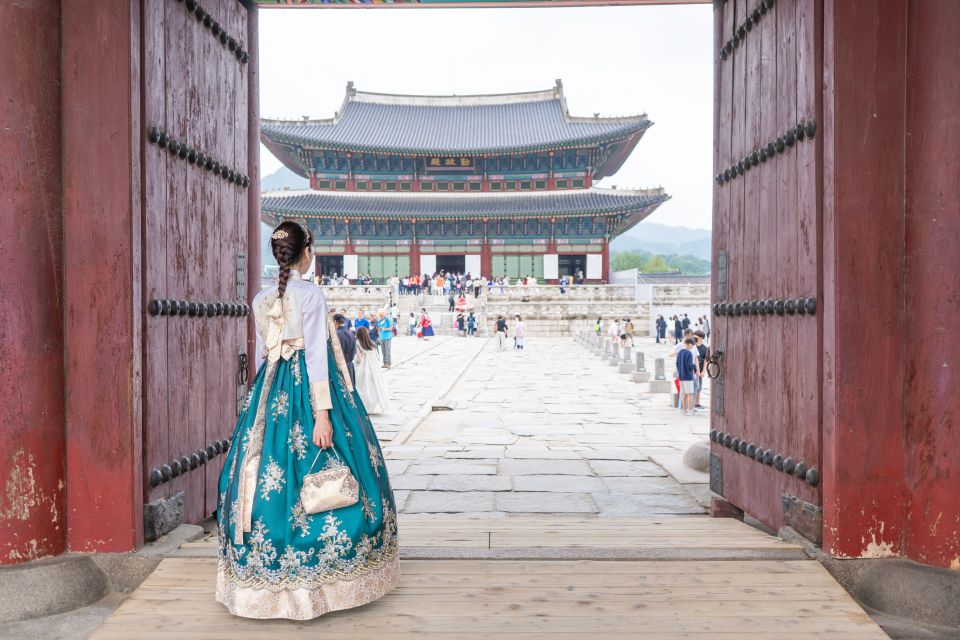
Gyeongbokgung Palace is the kind of place where a phone can’t magically make everything look cinematic. This stop is where the experience earns its keep: you get both a guided visit and a dedicated photo session for around 40 minutes.
The best part is the combination of spot guidance and pose coaching. A lot of tours point you at a famous wall and hope for the best. Here, Gilson helps you choose angles that fit the view in front of you, then tells you how to stand, where to look, and how to move so your photo doesn’t look like a passport picture.
In a busy palace environment, timing is everything. I like that the session is long enough for multiple tries. When one spot is packed, you can shift your position or adjust your framing without feeling like you missed the only good shot of the day.
Practical tip: wear shoes you can stand in comfortably. Palace grounds and photo framing mean you’ll be stopping, turning, and repositioning more than you might expect. If your feet hurt, your posture will suffer—and your photos will show it.
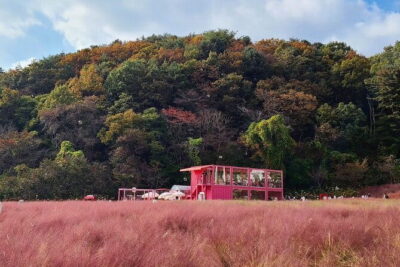
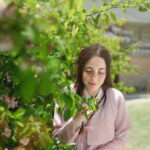
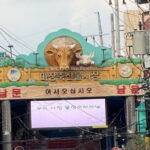
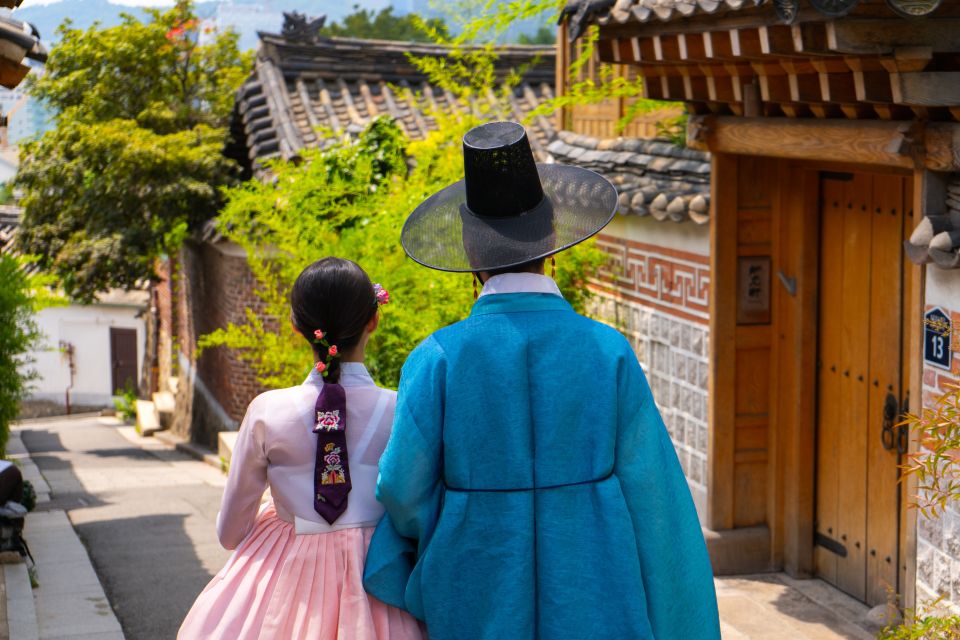
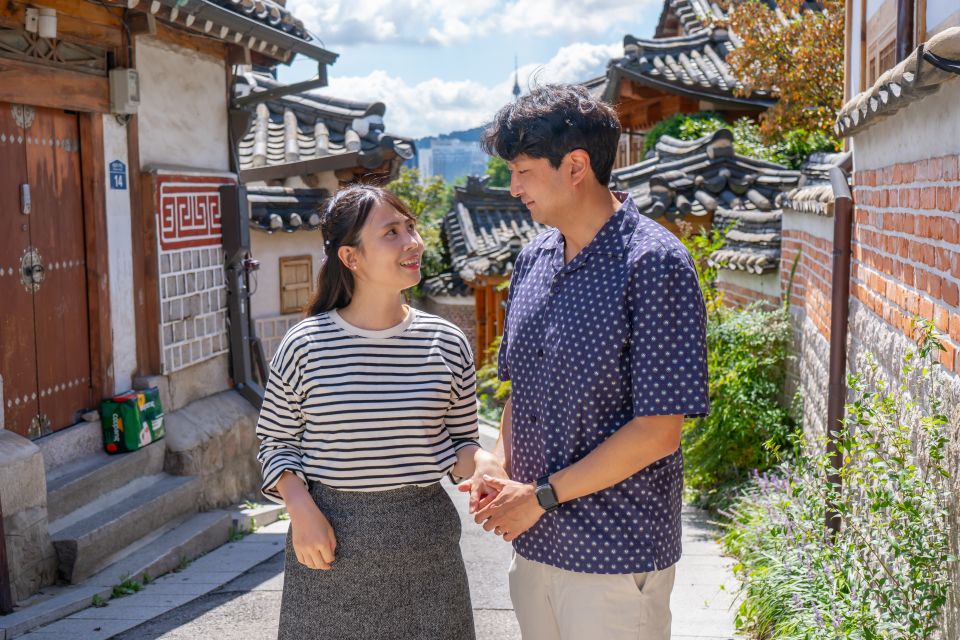
Bukchon Hanok Village and Samcheong-dong Alleys: How to Turn Tradition into Strong Frames
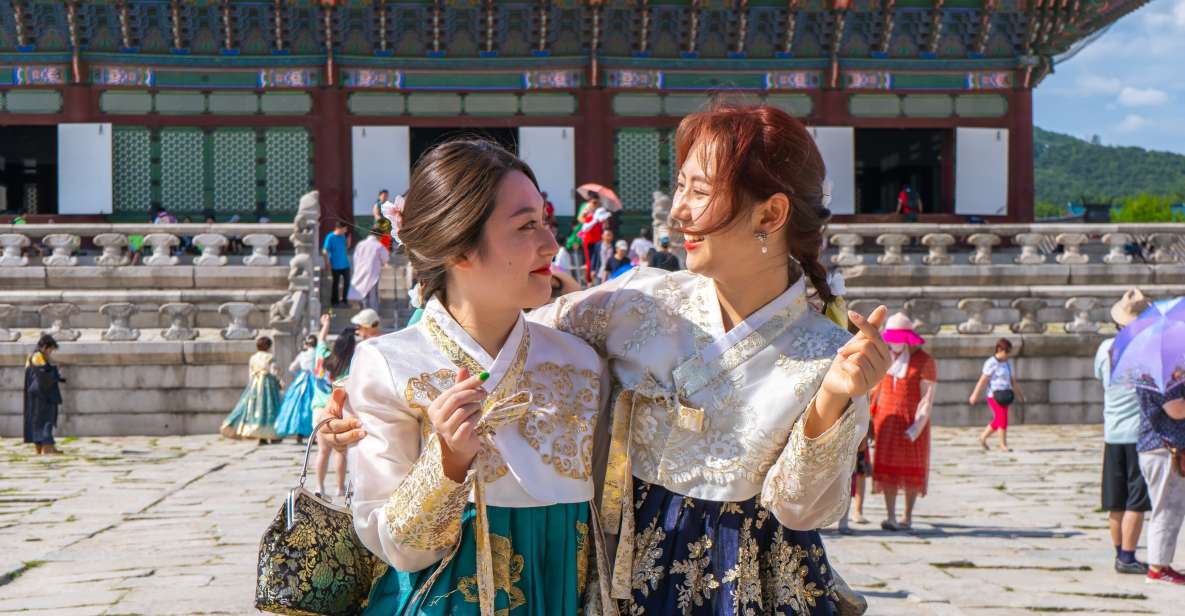
After the palace, you head toward Bukchon Hanok Village for about 30 minutes of photo stops and guided exploration. This is where the streets get more intimate—tight lanes, traditional architecture, and those quiet corners that make your photos feel like they belong in a story.
The experience doesn’t just focus on the obvious main views. You’ll explore hidden alleys and the traditional village feel, plus the Samcheong-dong area. That matters if you want photos that look like Seoul, not just a list of monuments.
Here’s why this is valuable: architecture can look amazing, but it often photographs flat unless you know how to align your body with the lines of the buildings. The posing guidance helps you work with the environment instead of fighting it. Think about where your shoulders face, how you angle your face relative to the background, and how you position yourself so the street depth shows up in the frame.
If you’ve ever tried to take a selfie in a historic neighborhood and ended up with weird perspective, this is the fix. You’ll get help choosing positions that look natural, and you’ll be guided to frame yourself with the architecture rather than blocking it.
You’ll also get to enjoy the village atmosphere, not just rush through it. That balance is important: a photo session should feel like travel, not like a production line.
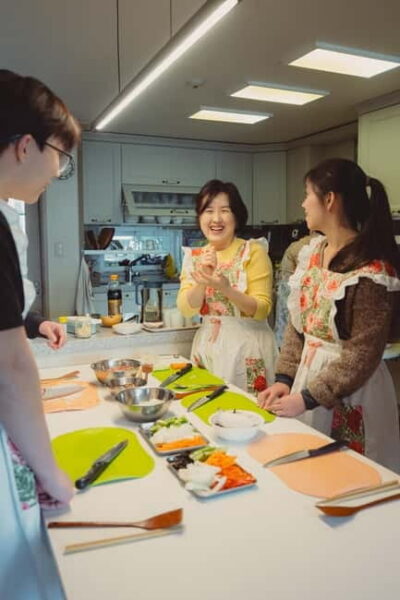
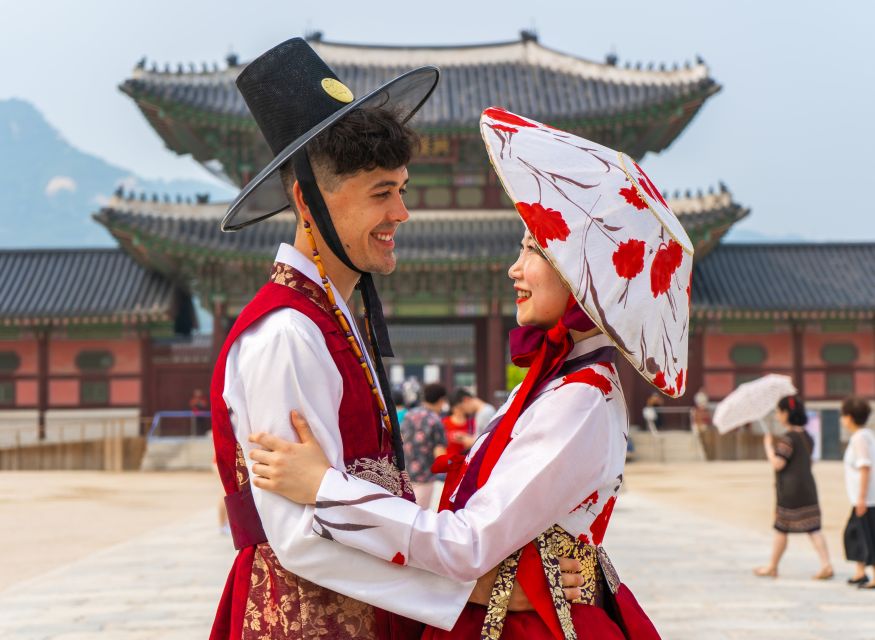
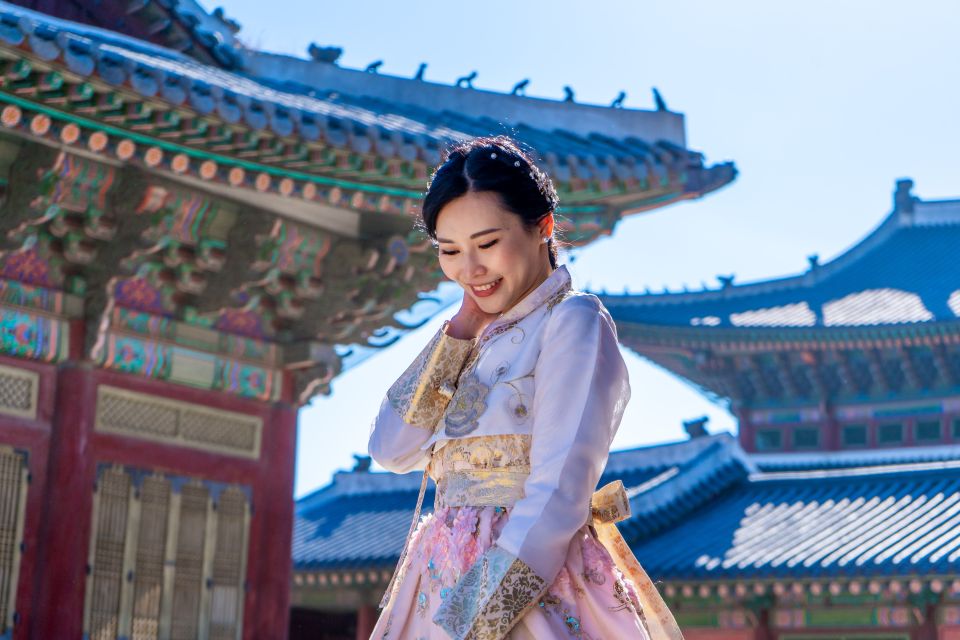
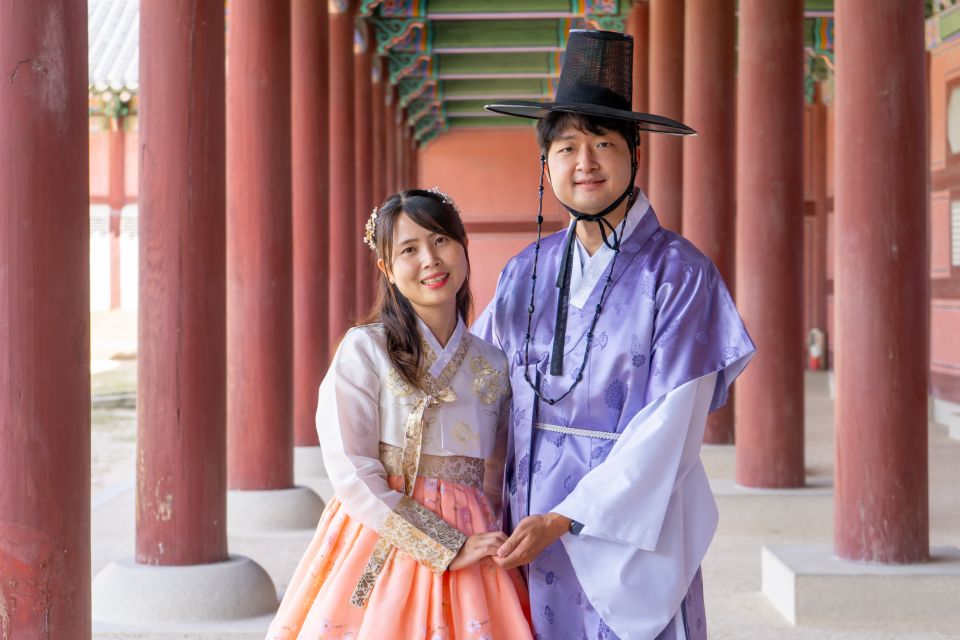
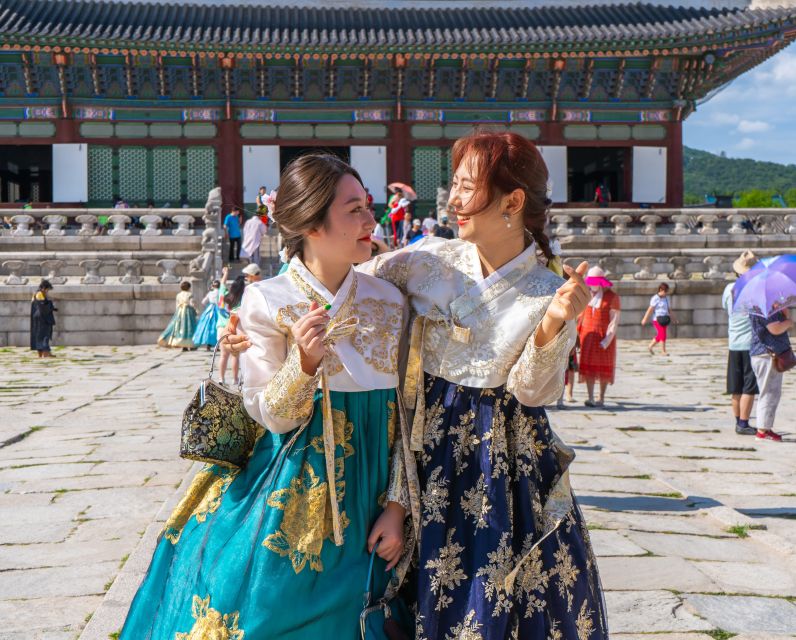
Hanbok Optional, But You Must Bring It: What to Do Before You Go
You’re welcome to join in Hanbok, the traditional Korean outfit. But the tour does not provide it, and you need to be fully prepared with your hanbok before the trip.
So how do you handle that without stress? Plan on two things: fit and movement. You’ll be walking between stops and stopping frequently for shots. If your outfit limits your stride, you might spend more time adjusting clothing than taking photos—then your posture will get awkward in pictures.
Also, bring a mindset shift. With hanbok, your goal isn’t just to pose. Your outfit adds shape and character to the frame, so the guide can help you select poses that match both the clothing and the background.
If you’re considering hanbok, you’ll enjoy this most if you already know you can wear it comfortably for the 90 minutes. If not, normal clothes with good shoes will still look great in these traditional streets and palace scenes.
The Photos After the Walk: 30–40 Edited Images in Your Inbox
This is one of the strongest parts of the experience: after the tour, you get photos by email with simple color correction within 3 business days.
You’re promised at least 30–40 photos per person, ready to post online and share with friends and family. For me, that hits the sweet spot. It’s enough variety to pick favorites, but it’s not so many that you’ll never edit or choose.
The editing is described as a simple color correction, so your photos should keep a natural look. You’re not being sent a heavily stylized filter set that makes everything look like a different place. Instead, it’s the kind of improvement that helps you present your day cleanly—especially helpful if you shot with a phone and lighting got tricky in shaded alleys.
One more practical benefit: you don’t have to deal with the post-processing workload right after your trip. Your job is choosing which photos to share, not learning new editing settings on vacation.


Price and Value: Why $120 Can Be a Smart Solo Spend
At $120 per person for 90 minutes, you’re paying for three things at once: guided routing, professional photography help, and edited deliverables.
If you’re traveling solo, this can be a standout value. Without a photographer, your options are limited: ask strangers, use a tripod, or accept that your vacation photos will include mostly wide shots and fewer portraits of you. This experience replaces that awkward trade-off with clear direction and reliable results.
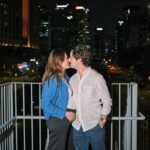
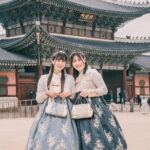
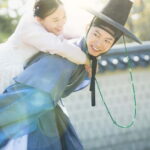
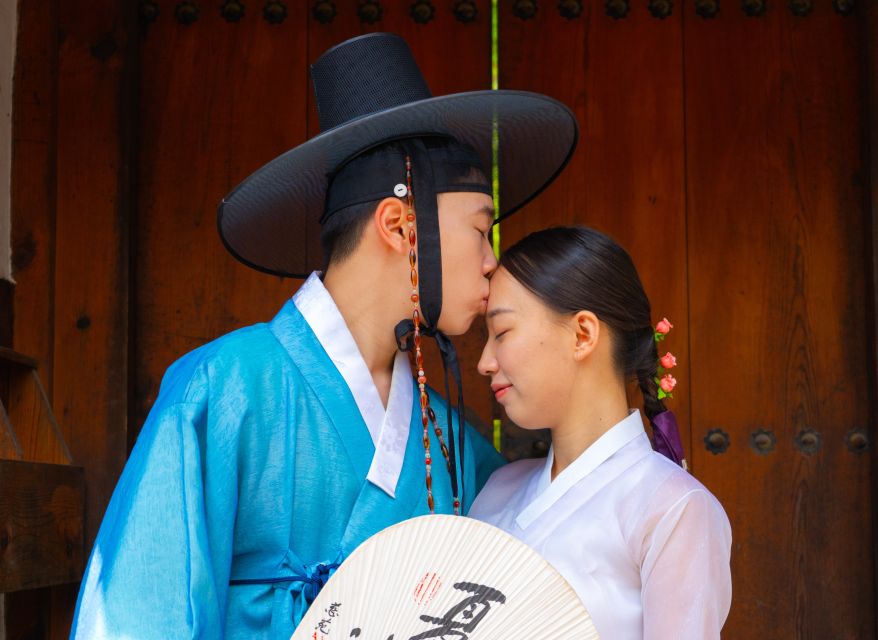
If you’re a couple (including honeymoon-style romance), it also makes sense. Couples photos are rarely just two people standing together. They involve posing, spacing, and direction so you both look comfortable and connected in the frame. A guide can help you avoid the common problem of one person looking great while the other looks unsure.
For small groups, it’s still attractive because the max group size keeps attention from being spread too thin. You’re not fighting for time while someone else hogs the session.
You should consider the price most if photography is a priority for your trip. If you mostly want scenic wandering and don’t care about portraits or editing, you might find a cheaper way to see the sights. But if you want photos that look like you planned them, $120 is easier to justify.
Best Fit: Who This Seoul Photo Session Works For

This tour is a strong match if any of these describe you:
- You want photos of yourself without awkward staging
- You like historic settings and want your face included in the scene
- You’re aiming for a specific mood (classic, romantic, or travel-themed)
- You’d rather spend your time sightseeing than figure out camera angles
The experience is also good for people who don’t want to micromanage their own shots. Gilson guides your pose based on the place and view, so you’re not stuck doing trial-and-error while the moment passes.
And if you care about having a consistent style, it helps that Gilson is an award-winning photographer. You can also check his Instagram at gilsonsnap to see the kind of look he typically goes for before you book.
Practical Tips Before You Go (So Your Photos Look Effortless)
A few small choices make the biggest difference in how your final photos turn out.
Start with shoes. Comfortable shoes are required because you’ll walk during the photo session, and you’ll want stable footing for posing. Next, decide what style you want before you meet. The experience invites you to discuss the mood you’re interested in, whether you want noble-style elegance inspired by the Joseon period or a romantic travel vibe.
Finally, think about your readiness for multiple shots. This isn’t one quick photo and done. You’ll likely move through several angles and poses, so show up with energy and let the guidance do the heavy lifting.
Should You Book This Seoul Photo Experience?
I’d book it if you want portraits in iconic Seoul settings and you don’t want to work for every good shot. This is especially worth it for solo travelers, couples, or anyone who cares about posting a set of photos that looks intentional.
Skip it only if you’re mainly interested in slow sightseeing and you don’t care about getting posed portraits with edited images. In that case, you might prefer to roam freely and take your own photos.
If your vacation photos are part of the memory for you, this one is a practical buy: guided spots, pose coaching, and edited images delivered to your inbox within days—without the tripod stress.
FAQ
What’s the duration of the Seoul photo experience?
The tour lasts 90 minutes.
How much does it cost?
It costs $120 per person.
Where do I meet the tour?
You meet at Anguk Station Exit 1.
What areas of Seoul will we photograph?
You’ll take photos in Bukchon Hanok Village and at Gyeongbokgung Palace, and you’ll also explore the Samcheong-dong area.
Are photos included?
Yes. You’ll receive at least 30–40 photos per person.
When will I get the photos after the tour?
Your photos are sent by email with simple color correction within 3 business days.
Is Hanbok provided?
No. You can join wearing Hanbok if you bring your own and are fully prepared before the trip.
What languages are available for the guide?
The live guide is available in English, Portuguese, Spanish, and Korean.
How big is the group?
It’s a small group limited to 5 participants.
Can I cancel?
Yes. Free cancellation is available up to 24 hours in advance for a full refund. You can also reserve now and pay later.