REVIEW · SEOUL
Bukhansan National Park- The Summit Course
Book on GetYourGuide →Operated by environment design lab · Bookable on GetYourGuide
This is a fast track to Seoul’s top mountain. Koa keeps the plan tight and safe, and the goal is clear: summit 836m on a route designed to save time. The catch is that the climb is steep and rocky, and the rope-assisted final section may feel intense if you fear heights.
I like that the course is built around a realistic half-day window (4.5 hours) while still getting you to the summit area. You can also add a satisfying post-hike meal at a tofu-focused place, which is vegan/vegetarian friendly, with meat options too. If you’re not moderately fit, expect the ascent to push you, because you’re gaining a lot of elevation quickly.
In This Review
- Key points to know before you go
- Bukhansan Summit Course: a half-day shot at Seoul’s highest peak
- The 4.5-hour plan: what happens on the way up and back
- The ascent: 600m up in 2.1km
- The Baek-un-dae highlight: ropes and steep angles
- The descent: same route, different fatigue
- Difficulty check: moderately fit, but not a casual stroll
- Meeting at Bukhansan Ui Station: the schedule is strict
- Gear and safety support: what’s included, what you’ll borrow
- Optional lunch after the summit: tofu that actually changes the meal
- Guide Koa and the difference a real mountain leader makes
- Price and value: why $67 can be fair for Seoul-area hiking
- Should you book the Bukhansan National Park Summit Course?
- FAQ
- Where do I meet the guide?
- What time does the hike start?
- How long is the experience?
- Is the tour guided in English?
- How hard is the climb?
- Is the rope-assisted part required if I’m afraid of heights?
- What hiking gear is provided?
- Is lunch included?
- Can I buy water during the tour?
- Is there a pay-later option?
Key points to know before you go
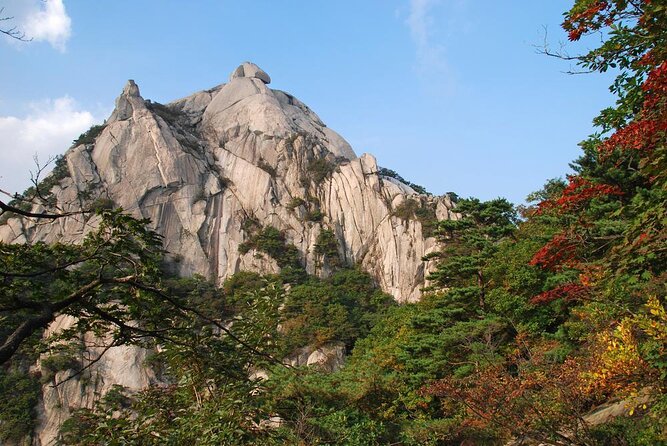
- Seoul’s highest peak (Baekundae at 836m): you’re climbing to the top landmark most people in the city only point at from below
- Time-saving route: about 4 hours total instead of the slower 6-hour pace you may see on other routes
- Big climb in a short distance: roughly 600m elevation gain within 2.1km, which feels like climbing hundreds of floors
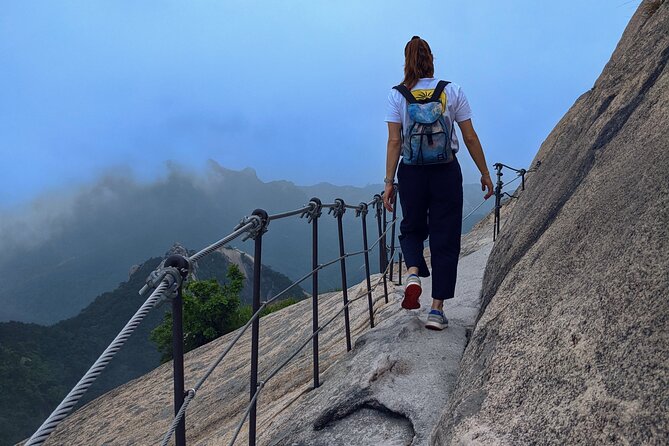
- Rope-assisted steep section: expect 25–45 degree angles on part of Baekundae (about 20–30 minutes)
- Support where you need it: bug spray/first aid/rain coat (if needed), plus crampons and poles you can borrow at 1/3 point
- Optional tofu lunch after: paid separately (9,000–15,000 KRW), made from scratch, and vegetarian-friendly
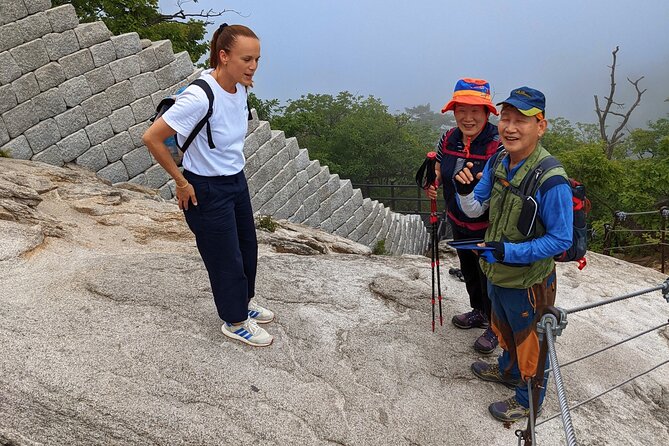
Bukhansan Summit Course: a half-day shot at Seoul’s highest peak
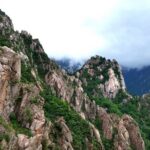
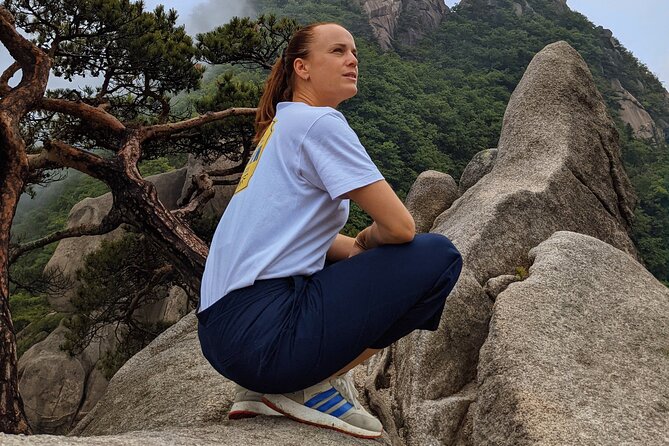
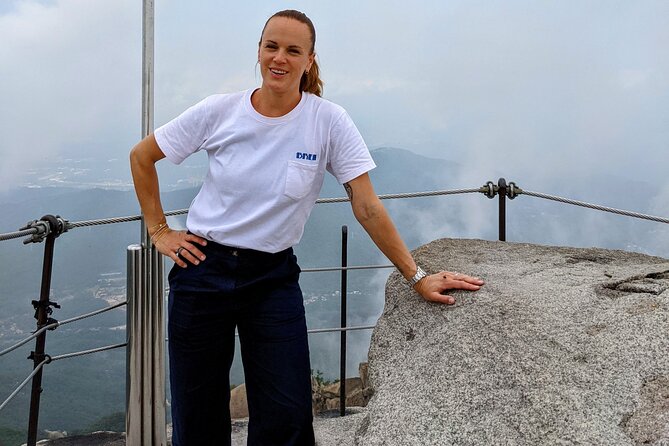
Bukhansan National Park sits right on the boundary of Seoul, so it feels like you’re escaping the city fast. This Summit Course is aimed at the big payoff: the highest peak in Seoul at 836m, known for its dramatic views and the kind of rock-and-ropes challenge that makes people feel alive and nervous in the same breath.
The route is designed for time efficiency. You still conquer the summit, but you’re doing it in around 4.5 hours total, instead of the longer 6-hour hikes that many independent routes tend to take. That matters when you only have a day in the Seoul area and you’d rather spend your time hiking than guessing your way up.
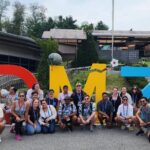
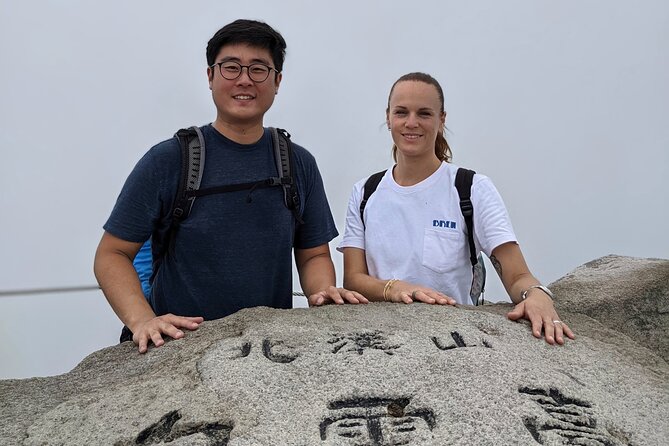
The other reason this course works is simple logistics. You’re not navigating trails by yourself. You meet a guide at the train station, you hike in a group, and you return to the same meeting point. That alone reduces the mental load—especially on a mountain where footing matters and missteps cost time and energy.
You can also read our reviews of more tours and experiences in Seoul.

The 4.5-hour plan: what happens on the way up and back
Here’s the rhythm I’d expect you to feel with this course. You start early, push upward, tackle the steep highlight near the top, then come back down the same way. Because the return is the same route, the pacing is planned so you can stop when needed and still stay part of the group plan.
The ascent: 600m up in 2.1km
The climb is steep. You’re looking at about 600 meters of elevation gain over roughly 2.1 km. That pace translates into the kind of workout you don’t forget. The info for the hike notes this typically takes around 100–120 minutes for that specific uphill portion. In other words: count on a solid stretch of uphill effort early in the hike.
It helps to think in “stair logic.” The route’s description compares it to going up and down around 200 floors of stairs. That’s not just a joke; it’s a way to set expectations. Your legs will feel it long before you reach the rope section.
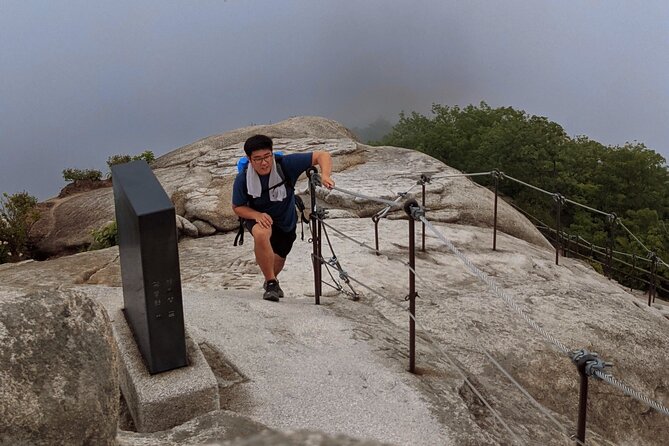
The Baek-un-dae highlight: ropes and steep angles
The key standout is Baek-un-dae peak. This is where the mountain turns from steep hiking into a more technical climb. You’ll face 25–45 degree-angle climbing in a section that’s aided by ropes. The time window given is about 20–30 minutes.
If you have a fear of heights, take that seriously. The course notes that this part can be avoided by having a break. That doesn’t mean you should ignore the section; it means the guide’s plan gives you an option to get through without forcing a full-on exposure at your most uncomfortable moment.
Also keep in mind the course returns the same way. The info says if you need to stop, the guide can pick you up on the way back. For me, that’s an important detail: it’s not a plan built around no-stopping heroics.
The descent: same route, different fatigue
On the way down, your challenge shifts. Uphill burns your cardio. Downhill burns your knees and ankles. Since the route comes back the same way, you’ll be retracing footing in rocky areas. That’s why hiring a guide matters; you want someone who can keep your steps under control when your brain starts doing the lazy thing.


Difficulty check: moderately fit, but not a casual stroll
This hike is often described as moderate, but in real mountain terms it can feel tougher than you expect—especially because of the steep packed uphill. The course is clear that you need moderately fit fitness to finish, and the elevation profile backs that up.
If you have bad knees, this might be where you rethink the day. The climb is intense, and even though you come back down the same route, the descent can still aggravate joints. If you’re someone who struggles on rocky stairs, this probably won’t feel like your average Seoul weekend hike.
If you’re generally active—like you can handle a workout session—and you train legs a bit before the trip, you’ll likely find it manageable. The biggest factor is not just cardio. It’s your willingness to move steadily and your comfort with uneven terrain.
If you’re afraid of heights, the rope-assisted portion is the line between interesting challenge and stressful one. The course gives an out via breaks, but you should still plan your mindset for that final push.
Meeting at Bukhansan Ui Station: the schedule is strict
This part is small, but it can make or break your day. Meet your guide Koa outside Exit 2 of Bukhansan Ui station. Double-check the station name. Do not confuse it with Bukhansan Bogungmun station.
Then be early. The group can wait for late comers for only 15 minutes, and the group leaves at 8:15 am Sharp. That’s not a suggestion. If you’re coming from central Seoul, I’d plan for extra buffer time and verify your Naver route the night before.
Why this matters: the mountain gets busy later in the day. Starting early isn’t just about cooler air. It also helps you avoid crowding at the steep parts where everyone is moving carefully.
Gear and safety support: what’s included, what you’ll borrow

This course is thoughtful about small safety details. You get:
- Bug spray
- A first aid kit
- A rain coat if needed
That tells you the operator is planning for real conditions, not just sunny photos. South Korea weather changes. Bugs show up. Rain can turn rock into a slip hazard.
You can also borrow crampons and hiking poles at the 1/3 point. Even if conditions aren’t extreme, poles are a huge help for balance and for managing the downhill strain. Crampons can add grip if traction is needed. The course doesn’t ask you to bring gear for a single day, which makes this a better value for visitors who don’t want to buy hiking equipment on arrival.
You still need to show up with basics of your own. Bring layers, wear proper shoes, and don’t treat this like a walking tour.
Optional lunch after the summit: tofu that actually changes the meal
One of the best parts of this course is the food plan. Lunch is optional and paid separately at 9,000–15,000 KRW. After the hike, you eat at a spot specializing in tofu dishes.
The description says they make everything from scratch, and it may change how you think about tofu. The restaurant also offers meat options, so it’s not a tofu-only place. And it’s vegan/vegetarian friendly.
This is more than a nice extra. Food after a tough hike is when your body expects a payoff. A tofu-focused restaurant can be a smart post-hike choice because it’s filling without being overly heavy, and it often fits different diets in one group meal.
If you’re skipping lunch, you’ll still get the full hike benefit. But I think eating together after is part of what makes a group day feel complete.
Guide Koa and the difference a real mountain leader makes
A lot of guided hikes are just someone walking ahead and telling you to move. This one leans harder into actual mountain leadership.
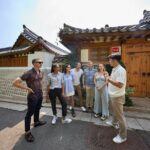
Koa is described as energetic and engaging, with good English for conversation during the hike. More importantly, Koa’s role is about safety and pace. The information emphasizes that Koa watches the group and gives tips for how to go up and down—exactly what you need on steep, rocky terrain.
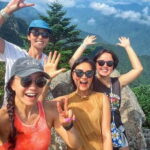
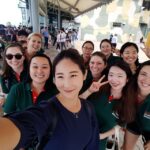
You also get a more social feel than you’d expect from a summit day. Several people highlight that they made friends in the group. That happens when the guide sets the tone early, remembers names, and keeps interactions going instead of turning the hike into silence.
There’s also a practical detail: Koa may lead you down a different trail to keep things interesting. That means you’re not guaranteed to feel like you’re doing the exact same thing twice, even when the route is mostly a there-and-back plan.
Price and value: why $67 can be fair for Seoul-area hiking
At $67 per person, you’re not paying for a long day tour. You’re paying for the guide, the safety and gear support, and the time saved by using a simplified route to the summit.
For a hike this steep, time matters. A self-planned hike risks two problems:
- you might spend extra time finding the correct route
- you might underestimate the difficulty and lose energy where you can’t afford it
This course packages the key pieces: an English guide, safety extras, borrowed traction/balance gear at a set point, and a summit outcome in about 4.5 hours.
Is it expensive? Compared to a self-guided hike, yes. But compared to the cost of buying gear, guessing logistics, and potentially losing most of your day, it can feel like good value—especially if you’re only in Seoul for a short time.
Should you book the Bukhansan National Park Summit Course?
Book it if you want a structured, English-friendly summit day without the stress of planning every turn. This is a great fit if you’re moderately fit, comfortable on steep trails, and curious about the rope-assisted Baek-un-dae section as a challenge rather than a fear.
Skip or reconsider if:
- you have knee trouble that doesn’t like downhill descents
- you strongly fear heights and don’t feel comfortable with the option to take breaks during the rope section
- you’re likely to be late, because the meeting time is strict and the group leaves at 8:15 am
If you fit the target—active legs, steady pace, and a can-do mindset—this course is one of the more efficient ways to reach a true Seoul summit and still feel like you got your money’s worth.
FAQ
Where do I meet the guide?
Meet your guide Koa outside Exit 2 of Bukhansan Ui station. Make sure you don’t mix it up with Bukhansan Bogungmun station.
What time does the hike start?
The group leaves at 8:15 am sharp.
How long is the experience?
The duration is about 4.5 hours.
Is the tour guided in English?
Yes. This is a live tour with an English-speaking guide.
How hard is the climb?
The ascending part includes about 600 meters of elevation gain within 2.1 km, which normally takes around 100–120 minutes and requires moderately fit participants.
Is the rope-assisted part required if I’m afraid of heights?
The rope-assisted climbing on Baek-un-dae is about 20–30 minutes. The course notes that if you have a fear of heights, this part can be avoided by having a break.
What hiking gear is provided?
Bug spray, a first aid kit, and a rain coat if needed are included. Crampons and hiking poles can be borrowed at the 1/3 point.
Is lunch included?
Lunch is optional and paid separately (9,000–15,000 KRW). You’ll eat at a tofu-specialty restaurant after the hike.
Can I buy water during the tour?
Yes. You can purchase water at the beginning at a convenience store.
Is there a pay-later option?
Yes. The booking offers reserve now and pay later, so you can book your spot and pay nothing today.